Understanding Excavation Requirements for Pavers
Before you lay down any pavers on your Washington property, you’ve got to start with the groundwork, literally. Excavation is what sets the stage for everything that follows. If it’s not done right, even the best pavers won’t hold up over time.
The first move? Mark out your layout. Grab some stakes and string, and outline exactly where those pavers are going. This gives you a clear boundary to follow and helps avoid guesswork when you start digging.
Start by marking the area where you plan to place the pavers. Use stakes and string to outline the perimeter. This visual guide will keep your excavation on track.
Depth requirements vary based on the type of installation.
You typically need to excavate around 8 inches deep for walkways and patios.
Driveways may require a depth of 12 inches to support vehicle weight.
Installation Type | Depth Required |
Walkways/Patios | 8 inches |
Driveways | 12 inches |
Once your area is marked, grab a shovel (or rent a small excavator if it’s a bigger job) and clear the top layer. That means grass, weeds, loose soil, anything that’s not going to support your base. You’re aiming for an even, consistent depth across the whole space.
After excavation, it’s time for the base materials. This part matters a lot more than people think:
Material | Purpose |
Crushed Stone | Drainage and Stability |
Sand Layer | Leveling and Compacting |
Compacting the soil is critical. Use a tamper to compact the soil after excavation. This step prevents future settling and shifting of the pavers.
Next, use a rake to smooth the surface and a level tool to check for evenness. Adjust the surface by adding or removing soil to achieve a level base.
Planning Your Paver Layout
Planning your paver layout involves accurately measuring your space and selecting the right designs and materials to match your vision.
Measuring Your Space
Before starting, grab a tape measure, stakes, and string.
Measure the length and width of the area where you want to lay the pavers. Write down your measurements. Having precise numbers helps in calculating the number of pavers you’ll need.
Mark the corners with stakes. Use the string to outline the entire area. This visual representation makes sure you know exactly where to dig. If your layout has curves, use a garden hose or flexible string to map those out too.
Use a level to make sure the ground is even. If you find high or low spots, plan to adjust the ground: consistent measurements and accurate marking save time during excavation.
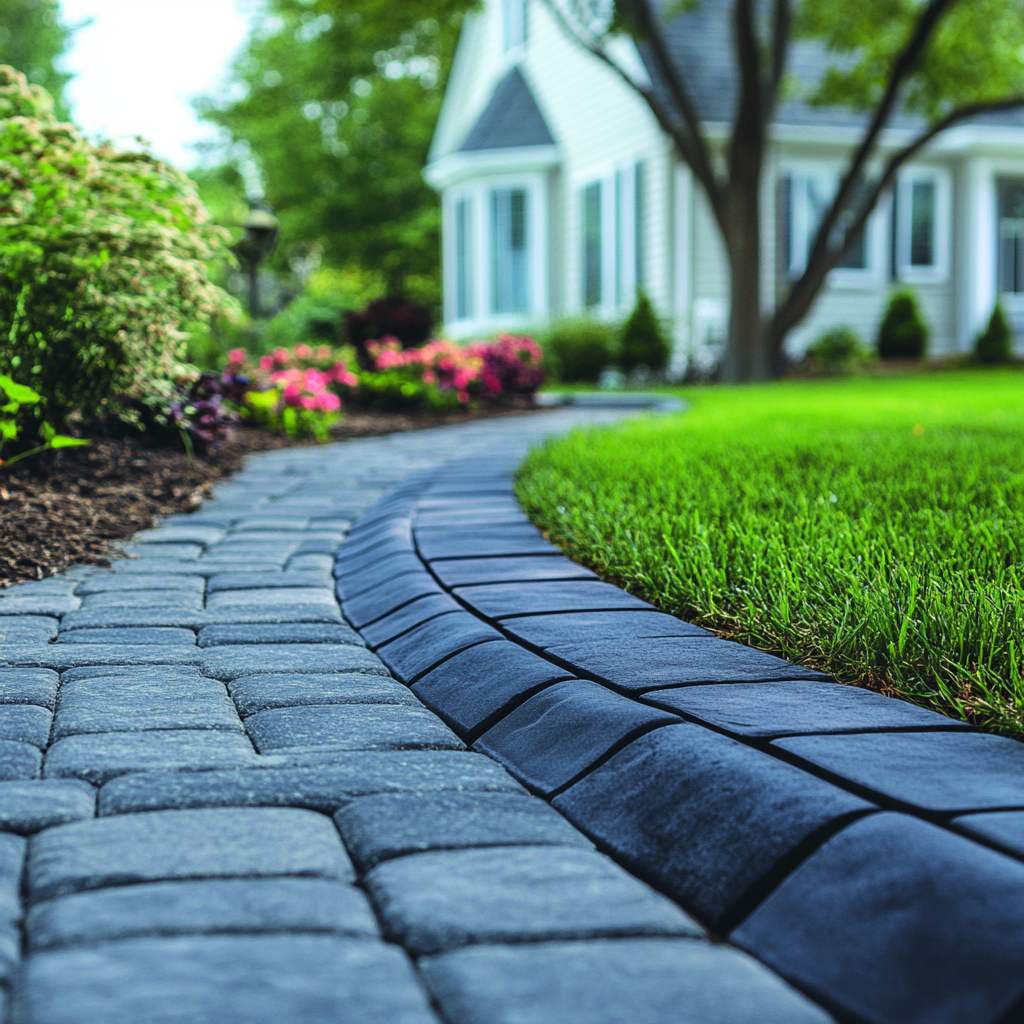
Choosing Paver Designs and Materials
When it comes to picking out pavers, think about the bigger picture: how your patio or walkway will fit in with the rest of your property. Style matters, sure, but so does strength, especially in Washington’s climate.
Materials like brick, concrete, and natural stone all bring something different to the table. Brick gives off that classic, timeless look. Concrete is flexible in design and often easier on the budget. Natural stone has a high-end finish and unique texture, but it can come with a higher price tag. Each holds up differently depending on use, so if you’re expecting a lot of foot traffic or vehicle weight, it makes sense to go with something more heavy-duty.
Don’t forget to factor in the local weather. Some pavers handle freezing temperatures better than others, and that matters around here. Always look into what the manufacturer says about how their product performs in cold climates.
Once you settle on the material, you’ll want to think about the pattern. Design isn’t just about looks, it helps lock everything in place. Herringbone patterns hold up well under pressure and are great for driveways. Basket weave brings a more traditional vibe. Running bond has a clean, straightforward appearance that fits just about anywhere. Your choice of pattern and material will shape how your space looks, but also how well it holds up through the seasons.
Preparing the Excavation Site

Proper site preparation guarantees a solid foundation for your pavers and prevents issues like uneven surfaces or drainage problems. Two critical steps in preparing the site are removing vegetation and marking the excavation area.
Removal of Vegetation
Before you get to the real digging, there’s one more job-clearing out the vegetation. That means everything: grass, weeds, and especially the roots underneath. Leaving roots behind gives them a chance to regrow and push up through your pavers later.
Start by cutting down the surface layer using a shovel or hoe, getting as close to the base as you can. If you’re working with a bigger space, using a tiller can make things move along faster. As you go, remove anything loose-clumps of grass, dead weeds, and plant matter that’s in the way.
Once the area looks cleared, it’s smart to spray down the soil with a non-toxic herbicide. That’ll take care of any stubborn roots and keep new growth from coming back in the short term. Let it sit and work into the ground before moving on.
After the spray has had time to do its job, rake over the area to get rid of anything left behind and to smooth the soil. At this stage, you want the ground clean and as level as possible, free of rocks, sticks, or other debris that could get in the way of your excavation or mess with your base layer.
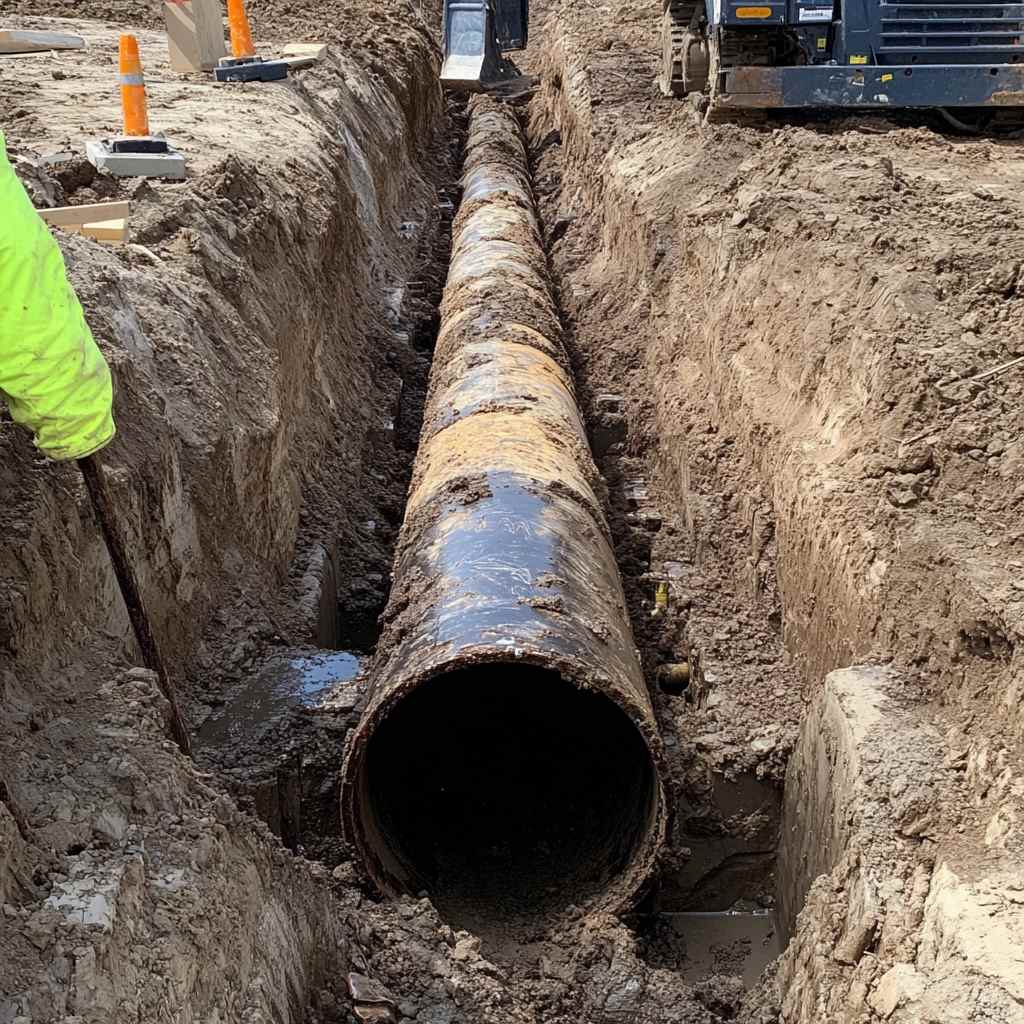
Marking the Excavation Area
Marking the excavation area makes sure that you dig precisely and avoid errors. Use stakes and string to define the boundaries.
First, drive stakes into the ground at each corner of the planned area. Then, tie the string between each stake to create a square or rectangle.
Recheck the measurements to garuantee accuracy.
If your design includes curves, use a garden hose or flexible tubing to outline the shape.
After marking, double-check the dimensions, making sure everything aligns with your plans.
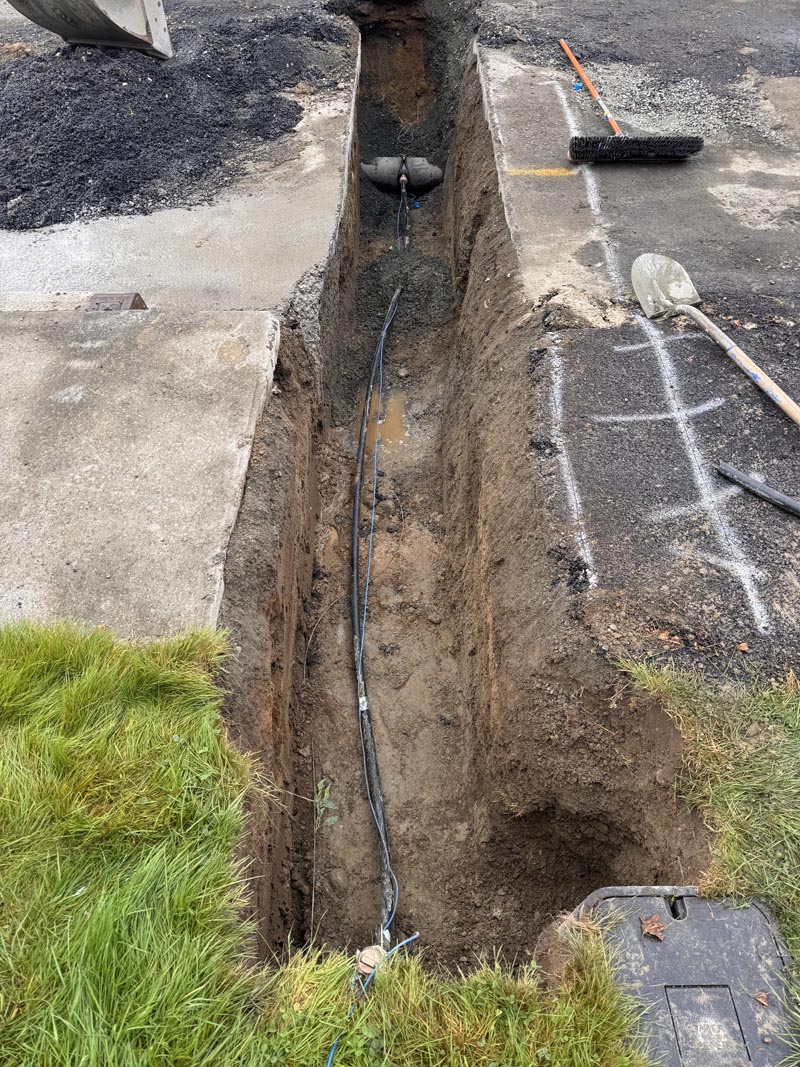
Excavation Techniques and Depth
Preparing the ground for pavers involves determining the right excavation depth and choosing between manual and mechanical digging methods. These steps make sure of a solid base that prevents pavers from sinking or shifting over time.
Determining Appropriate Excavation Depth
Before you start digging, take a moment to figure out how deep the excavation needs to go. This isn’t guesswork – you’ll want to factor in three things: the base material, the sand bedding, and the thickness of your pavers.
If the area is going to see just foot traffic, you’re generally looking at a total depth of about 7 to 9 inches. That covers around 4 to 6 inches of base material, an inch of sand, and the paver itself.
For areas like driveways or anywhere that’ll hold the weight of a vehicle, you’ll need more room. In that case, your depth should range from 12 to 17.5 inches. That extra space lets you build a thicker, stronger base that can handle the stress.
These numbers are solid starting points, but don’t forget to adjust them based on your specific site. Soil type, drainage needs, and slope can all change the depth a little. Better to tweak the plan now than fix shifting pavers later.
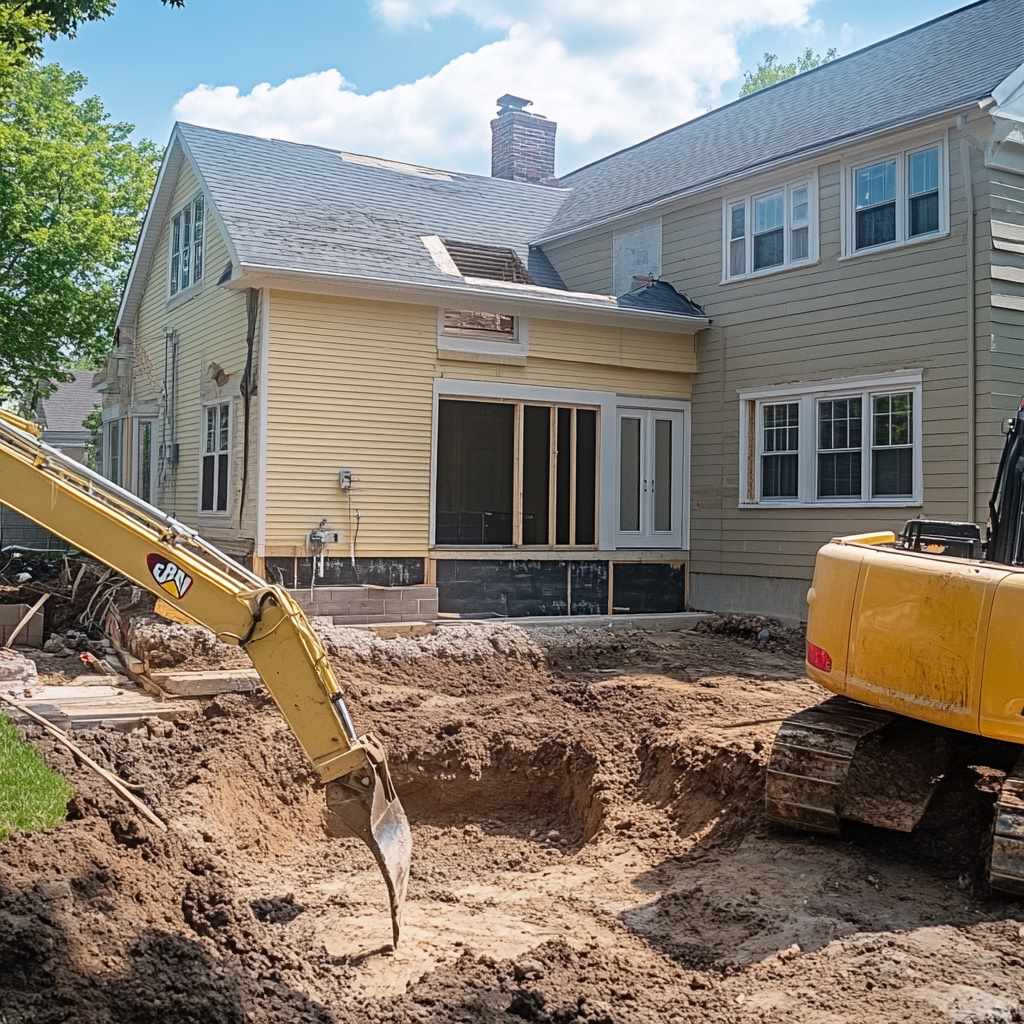
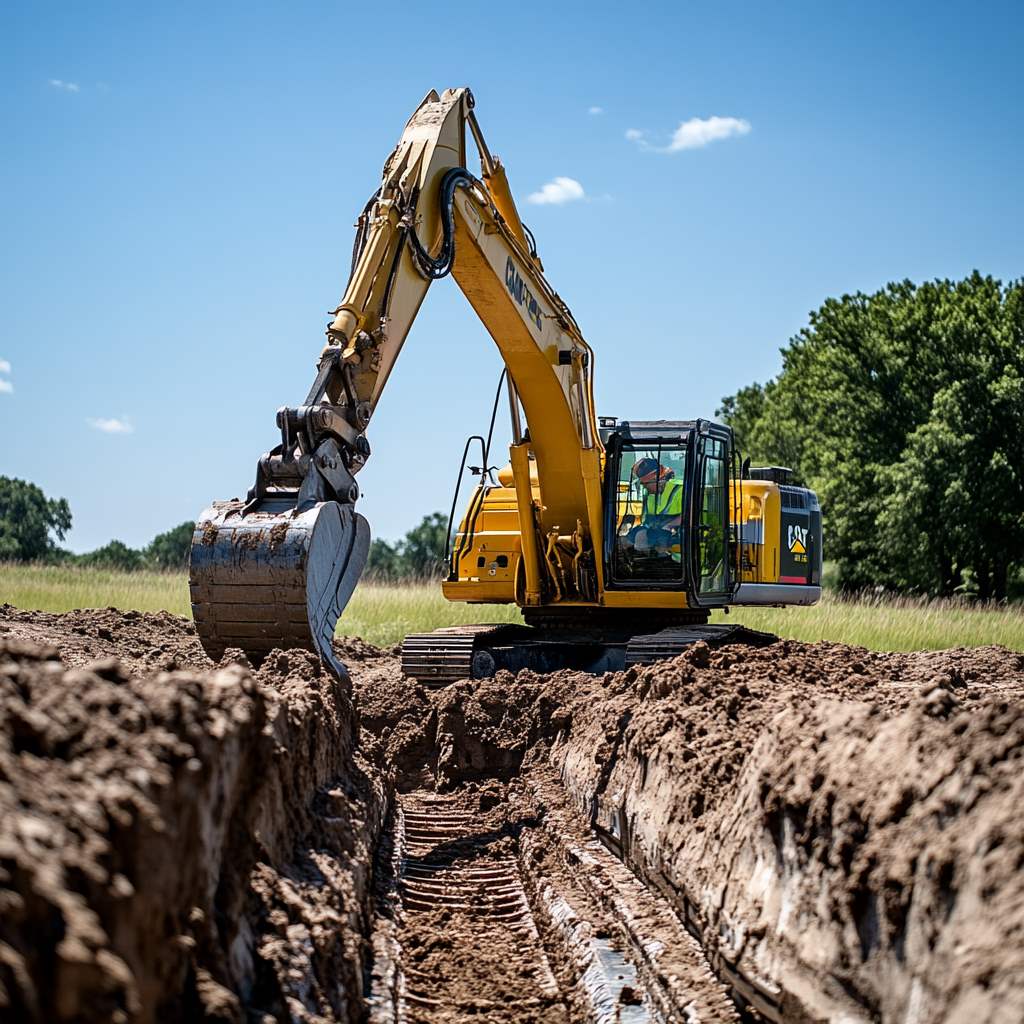
Manual vs Mechanical Excavation Methods
You can dig manually with tools like shovels and pickaxes. This method is labor-intensive but avoids damaging nearby structures. It’s suitable for small projects or tight spaces where machinery can’t reach.
For larger areas, mechanical methods like using a mini-excavator are more efficient. These machines can quickly remove large amounts of soil, saving time and effort. However, rental costs and operator skill are factors to consider.
Each method has its benefits and challenges. Choose based on project size, budget, and the precision required.
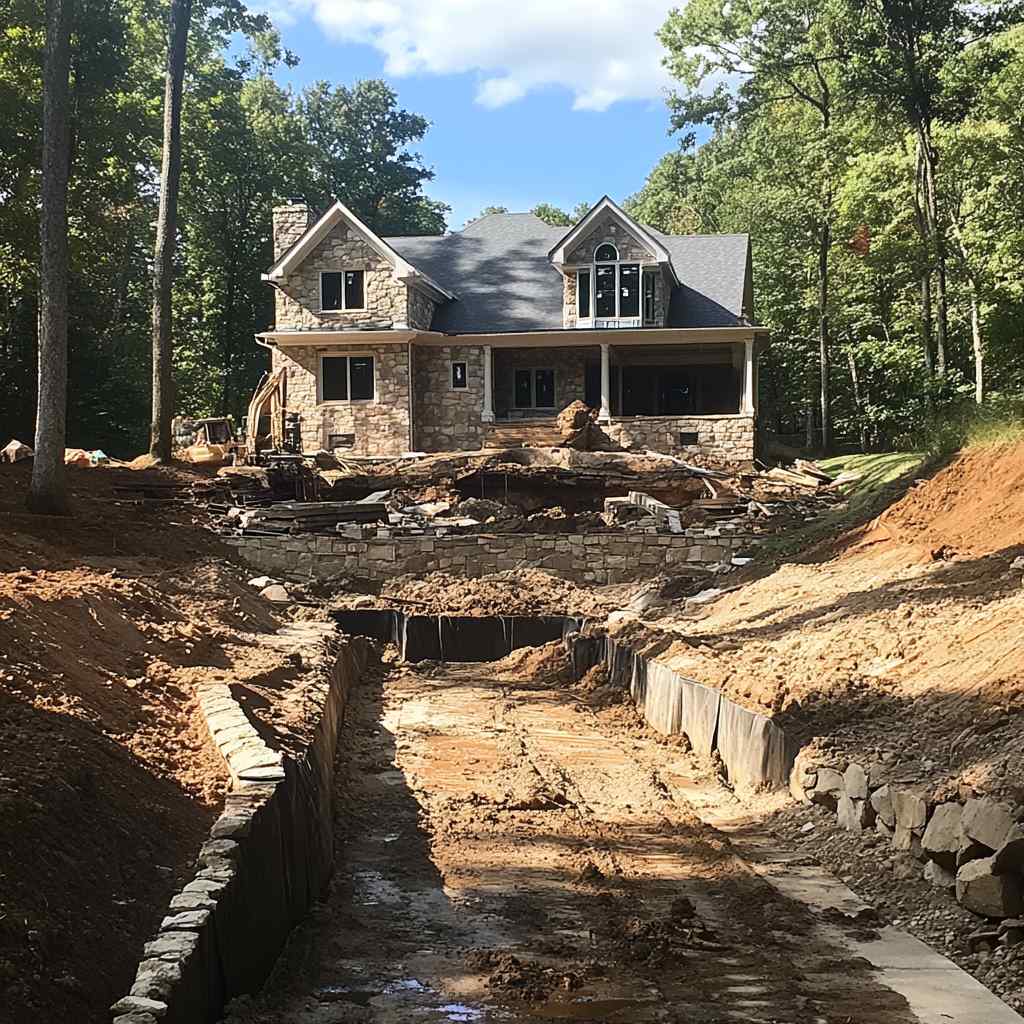
Soil and Site Assessment
Before laying pavers on your Washington property, examining the soil and site conditions is essential. A thorough evaluation guarantees a stable and long-lasting paver installation.
Analyzing Soil Composition
Understanding your soil’s composition helps in planning the base for your pavers. Washington’s soil varies widely, from sandy to clay.
Begin by taking soil samples from different parts of your site. You can get a soil testing kit from a local store or send the samples to a lab.
Key Factors to Check:
- Soil Type: Sandy soils drain easily but might need more stabilization. Clay soils hold water and can lead to shifting.
- Soil Stability: Make sure it can support the weight of pavers and traffic.
- Organic Material Content: High organic material can lead to decomposition and settling.
Testing Tips:
- Use a jar test to see sand, silt, and clay layers.
- Check for hardpan or other soil layers that might affect drainage.
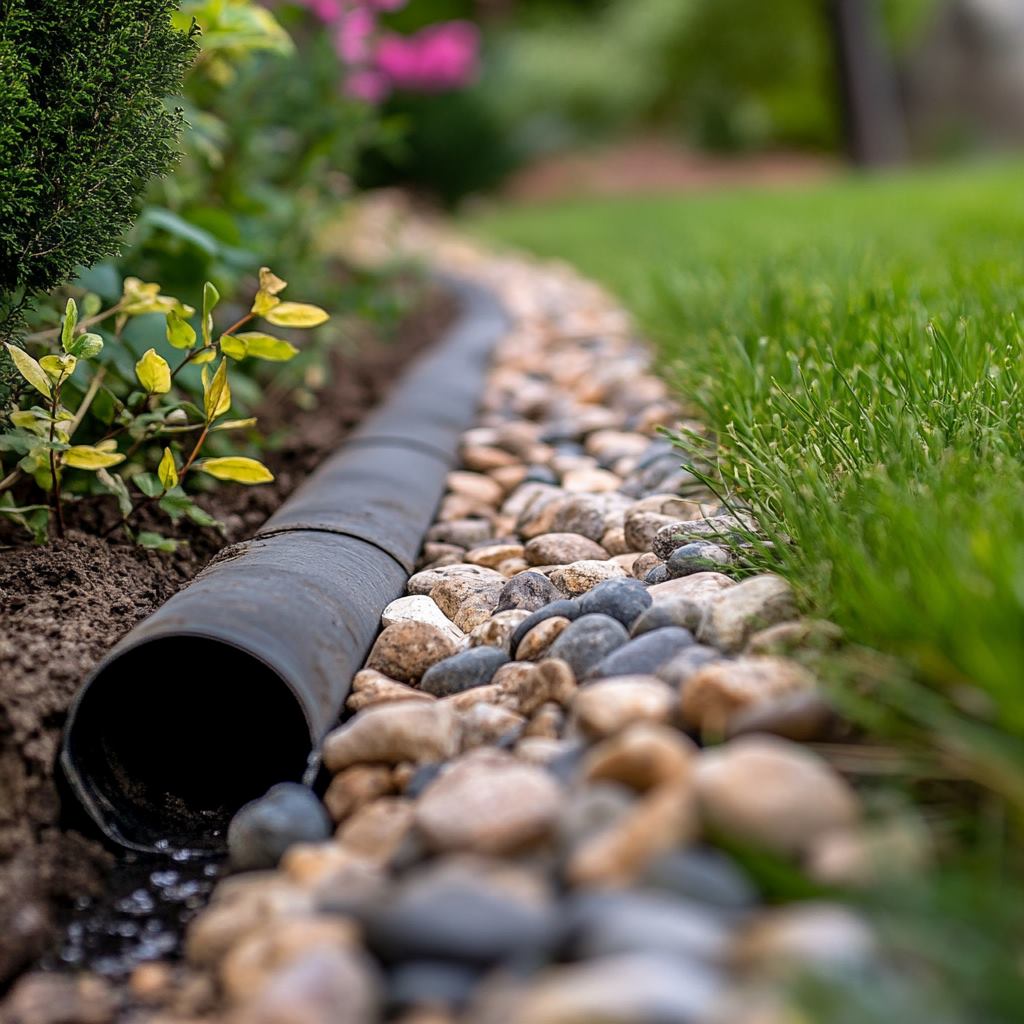
Drainage Considerations
Proper drainage is crucial to prevent water pooling and damage to pavers. Assess your site’s natural drainage patterns to guide your planning.
Factors to Evaluate:
- Slope: Makes sure there is a slope away from buildings to avoid water damage.
- Water Table Level: Knowing the water table helps plan for added drainage solutions, like French drains.
- Soil Permeability: Test how well water passes through your soil. Poor permeability might require additional drainage solutions.
Practical Steps:
- Install drainage pipes or gravel layers if necessary.
- Use a level tool to check and maintain a proper slope during installation.
Base Material Selection and Installation
Choosing the suitable base materials and proper layering and compaction are crucial for creating a durable and stable paver surface on your Washington property.
Types of Base Materials
For a solid paver foundation, you can choose from various base materials.
Crushed Stone is a popular option because it offers excellent drainage and compacts well, providing a sturdy base.
Sand: Often used on top of crushed stone, sand helps create a smooth, even surface for the pavers. Make sure you use coarse sand for better stability.
Stone Dust: This can be an alternative to sand. Stone dust compacts well but can cause drainage issues if not applied correctly.
Each material has its benefits; the choice depends on the specific needs of your project.
Layering and Compaction Techniques
Getting the layers right is what separates a smooth, long-lasting paver job from one that buckles and shifts over time. You’ve already got the area excavated – now it’s time to build it back up the right way.
Start by laying down geotextile fabric across the entire excavated area. This simple step goes a long way in keeping weeds from creeping through and helps prevent your base materials from shifting over time.
Next comes the base layer. Pour in your crushed stone, spreading it evenly until you’ve got about 4 to 6 inches of depth. Don’t just leave it loose – run a plate compactor over it, slowly and thoroughly. You want a solid, compact foundation that’s not going anywhere.
On top of that, add your bedding layer of coarse sand, usually about an inch thick. Use a screed board or straightedge to level it out. This is the surface your pavers will rest on, so it needs to be as even as possible.
Take your time with compaction. It’s not a one-and-done thing. Each layer you add should be compacted separately, with multiple passes if needed. That keeps your foundation from settling unevenly later. The better the compaction, the longer your pavers will stay put, even under heavy use or changing weather.
Edge Restraints and Borders
Edge restraints and borders are essential for keeping your pavers in place and ensuring the stability of your project. They prevent the pavers from shifting and help maintain the design and integrity of your paved area.
Choosing Edge Restraints
Selecting the proper edge restraint is crucial for a successful paver installation. The type you choose depends on the paver size, the installation process, and the desired aesthetic. Common types include plastic, aluminum, and concrete edge restraints.
Plastic edge restraints are lightweight and flexible, making them easy to install and adjust. They are also cost-effective, which is ideal for budget-conscious projects.
Aluminum edge restraints are durable and provide a sleek finish. They are resistant to rust and corrosion, making them suitable for long-term projects.
Concrete edge restraints offer solid support and are often used for heavy-duty applications. They blend well with concrete pavers and provide a seamless look.
When choosing an edge restraint, consider the height and width of your pavers. For adequate support, the restraint should cover at least half the height of the paver.
Installation of Edge Restraints
Installing edge restraints correctly guarantees your pavers stay in place. Begin by laying out all your pavers according to your design plan.
Once your pavers are set, use a concrete trowel to scrape the sand away from the edges where the restraints will be placed. This helps the restraints sit firmly against the pavers.
Next, place the edge restraints along the perimeter, ensuring they are snug against the pavers. Secure them with stakes or spikes. Drive the stakes or spikes into the ground about every 12 inches for plastic or aluminum, and every 18 inches for concrete.
Finally, backfill the area around the edge restraints with soil or sand to keep them in place. This helps prevent movement and makes sure your pavers remain secure over time.
Laying Pavers and Compaction
Installing and compacting your pavers properly are key steps for creating a stable and long-lasting surface. Follow these guidelines to make sure your pavers are laid evenly and can withstand traffic.
Installing Pavers
First, define your starting point using a chalk line to guarantee your pavers are aligned correctly. Begin by laying any border pavers along this line. For a perpendicular line, use a folding square or the 3-4-5 method.
Start placing the pavers, following the straight line, Lay the pavers in your desired pattern, leaving even spacing between them. If pavers need to be cut to fit into the spaces, use a paver saw or a chisel and hammer for precise cuts.
Once all pavers are laid, sweep jointing material over the paver surface. This material fills the gaps and helps stabilize the pavers. Make sure to sweep off any excess material to avoid scuffing during the compaction process.
Compacting Pavers for Stability
Compacting the pavers makes sure they interlock correctly and stay in place. Use a plate compactor with a protective pad to avoid damaging the paver surface. Run the compactor over the entire area, making multiple passes until the pavers are firmly positioned.
A hand tamper can be more appropriate for smaller areas or delicate pavers. This tool uses less force, reducing the risk of breaking pavers. Tap each paver gently but firmly to guarantees they are level and stable.
After compacting, add more jointing material if needed and compact again. This step helps to fill any remaining gaps, providing additional stability and preventing weeds from growing between the pavers.
Finishing Touches and Maintenance
Completing your paver project with proper finishing touches makes sure longevity and visual appeal. Regular maintenance will help maintain the integrity and beauty of your paved area.
Sanding and Sealing Pavers
After laying the pavers, sanding the joints is essential. Use fine, dry sand to fill the gaps between the pavers. Spread the sand over the surface and sweep it into the cracks. This process secures the pavers, reduces shifting, and prevents weed growth.
Next, consider sealing the pavers. A sealer enhances the color and protects against stains and the elements. Choose a high-quality sealer and apply it evenly over the surface with a roller or sprayer. Sealing should be done in dry conditions and allowed to cure for at least 24 hours.
Long-Term Maintenance Tips
Maintaining your paver area will extend its life and keep it looking its best. Frequent cleaning is crucial. Sweep away debris and wash the surface with water. For tough stains, use a mild detergent.
Inspect the pavers regularly. Look for any signs of shifting, cracking, or joint deterioration. Addressing these issues early can prevent more significant problems. If sand becomes dislodged from the joints, add more sand and compact it.
Reapply sealer every 2-3 years, depending on wear and tear. This will help maintain the protective barrier and keep the pavers looking vibrant. Follow the manufacturer’s instructions for the best results.
Frequently Asked Questions
Dig a trench at least 6 to 8 inches deep for best results. This depth allows for proper drainage and prevents shifting or sinking over time.
Start by clearing the area of grass, roots, and debris. Then, dig your trench, add a base layer of gravel and sand, and compact the soil and the base layers firmly to create a stable foundation.
Use a shovel and rake to remove high spots and fill low areas with soil. Check the surface with a level, and continue adjusting until it’s even. Compact the soil with a hand tamper to prevent settling.
Measure and mark the slope’s grade. Then, excavate following the slope’s angle. After that, install retaining edges and lay the base layers, ensuring each layer follows the slope. Finally, lay the pavers, starting at the bottom of the hill, and work upwards.
Arrange the pavers in the desired pattern, ensuring consistent spacing. Then, lay the 12×12 pavers on the prepared base and tap them into place using a rubber mallet. Fill joints with sand and compact with a tamper for stability.