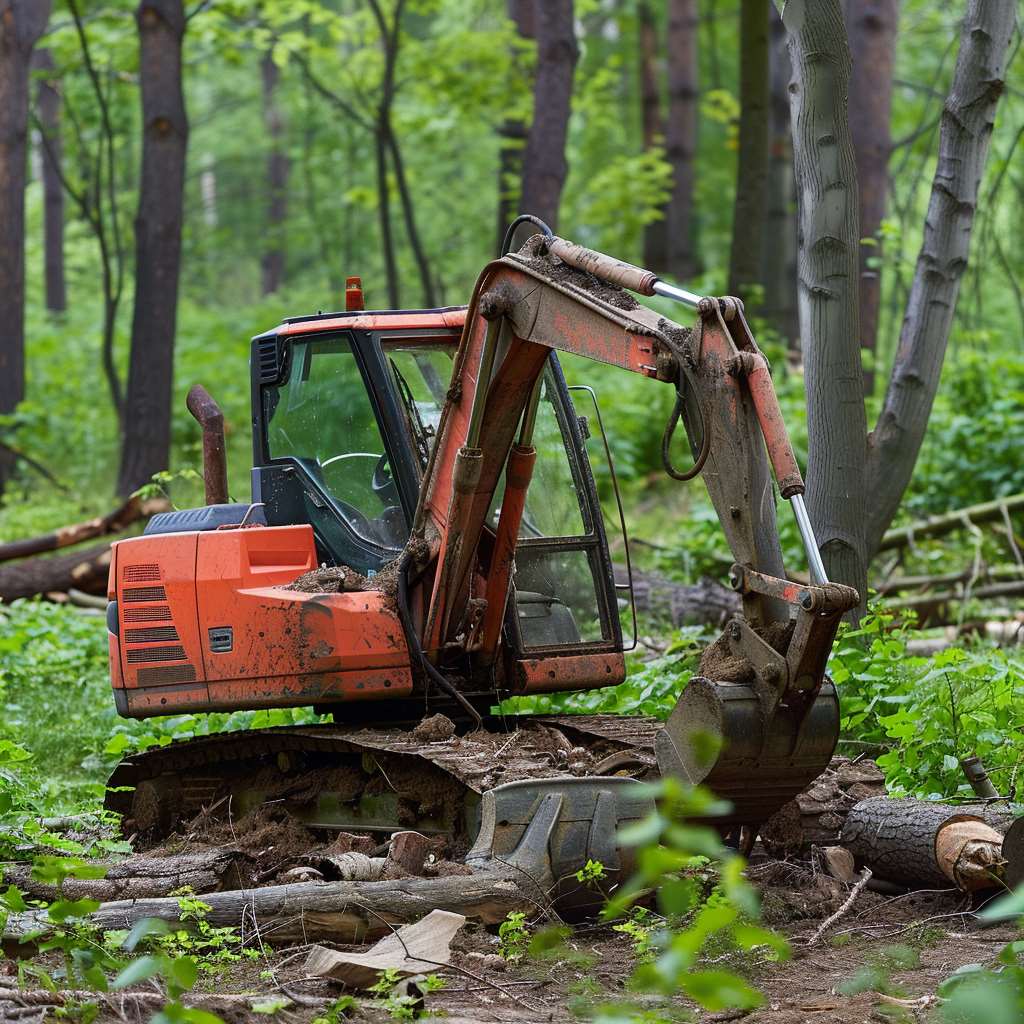
Removing tree stumps doesn’t have to be back-breaking work. With the right equipment and know-how, you can take out old stumps cleanly and efficiently. For many property owners and landscapers, a mini excavator is the go-to tool for stump removal, specially in tight residential spaces where larger equipment just won’t fit.
Understanding Mini Excavators for Stump Removal
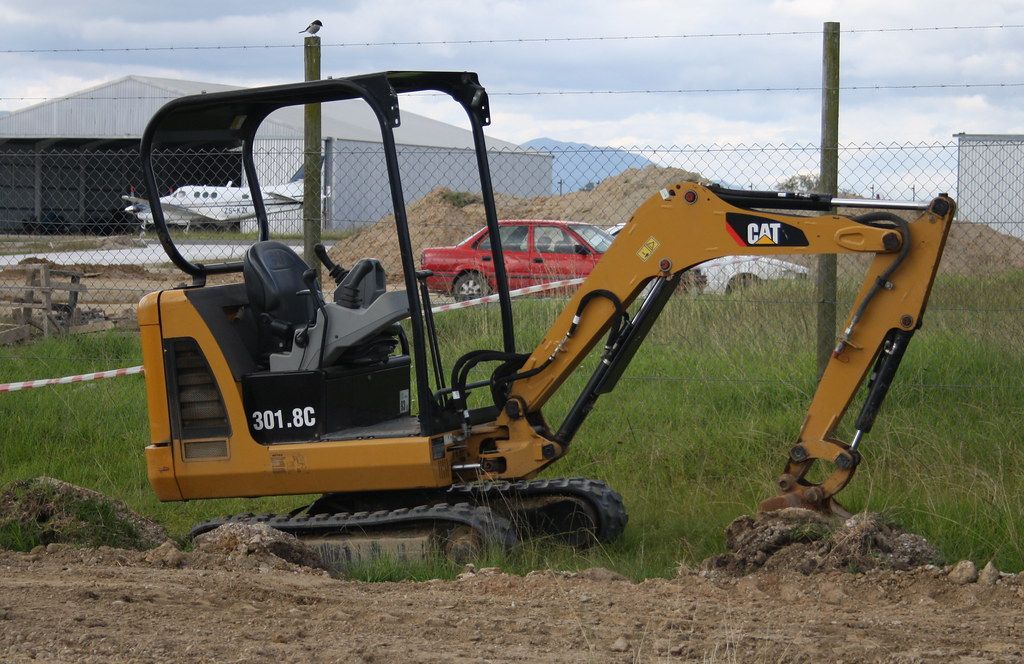
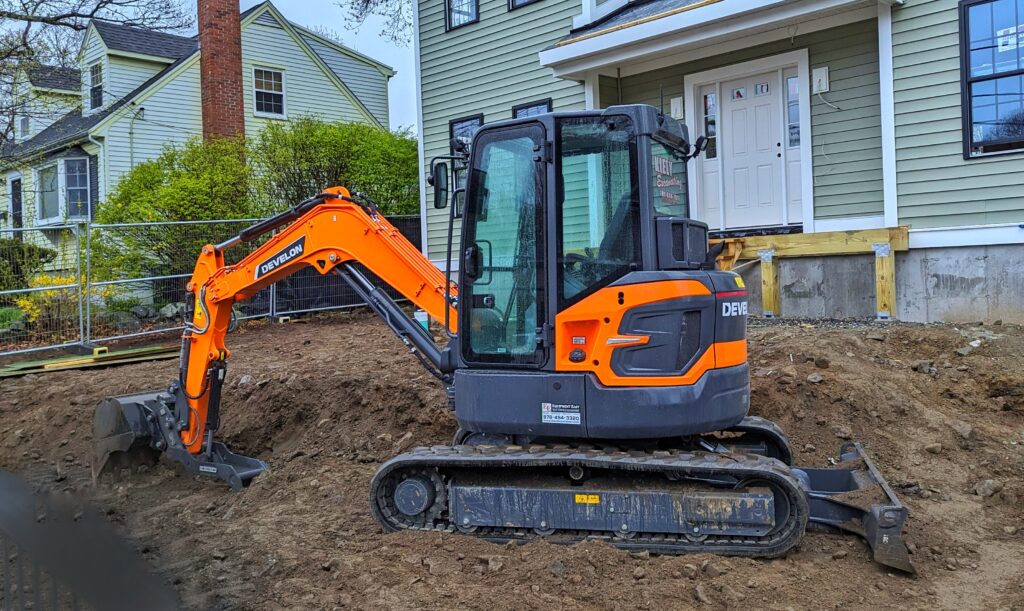
Mini excavators are compact, versatile machines ideal for various digging tasks. They offer several advantages when it comes to stump removal. While it doesn’t carry the raw power of a full-size model, it offers precision and control, two things that matter when working around fences, gardens, or other landscaping elements.
Mini excavators are widely used for stump extraction due to these advantages:
Ease of use – Requires less training and is often less intimidating for newer operators.
Compact size – Fits into smaller yards or tight corners with ease.
Maneuverability – Turns and pivots easily without damaging surrounding areas.
Cost-effective – More affordable than renting or operating heavy machinery.
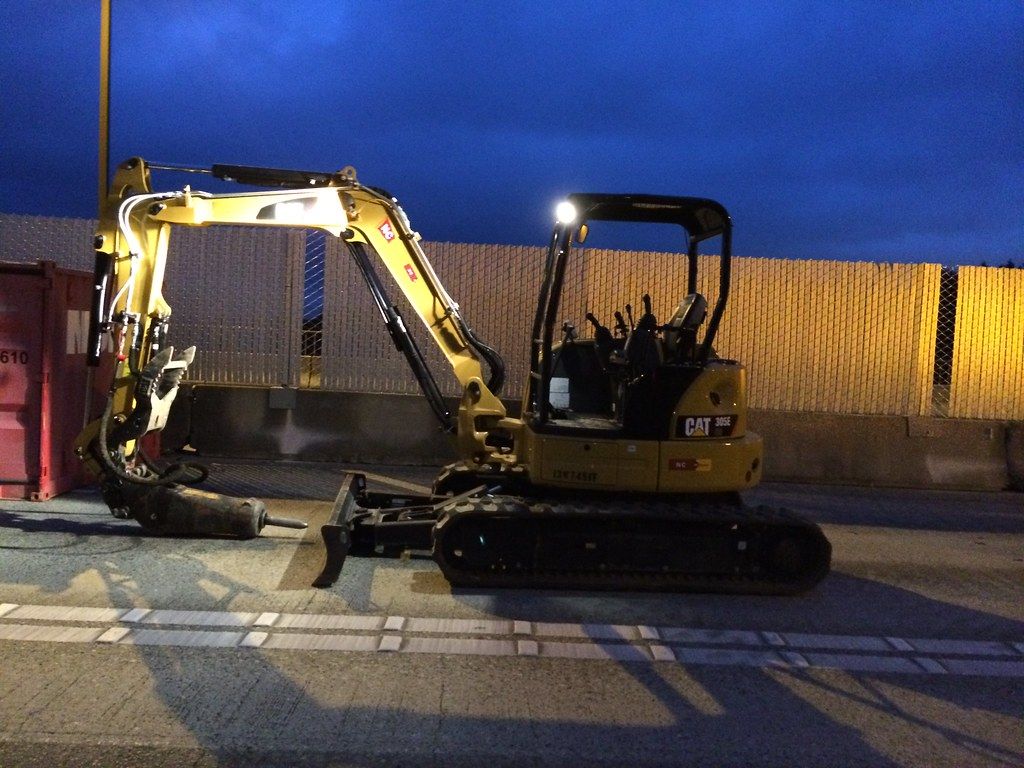
Helpful Attachments
Different attachments can make the job go faster and safer:
- Standard bucket – For digging around and under the stump.
- Thumb attachment – Acts like a claw to grab and lift root clusters.
- Ripper or breaker – Breaks up stubborn roots and compacted soil.
Steps for Stump Removal
- Positioning: Place the mini excavator close to the stump, ensuring a stable base.
- Digging: Use the bucket to remove soil around the stump, exposing the roots.
- Cutting Roots: Cut larger roots with a saw or attachment.
- Lifting: Utilize the excavator’s arm to lift the stump from the ground.
Safety Tips
- Check for buried utilities before starting.
- Wear appropriate protective gear.
- Ensure a clear area around the work zone.
Advantages of Using Mini Excavators
- Efficiency: Reduces manual labor and speeds the process.
- Precision: Allows careful removal without damaging the surrounding area.
Limitations
- Size: May not be suitable for very large stumps.
- Attachments: Specialized attachments might be needed for tougher jobs.
Preparation and Safety Measures
Before you jump into the digging, take a moment to assess the site and prepare for a clean, efficient removal. Even with smaller machines, stump removal brings risks, especially near buried utilities or delicate landscaping. Walk the area first.
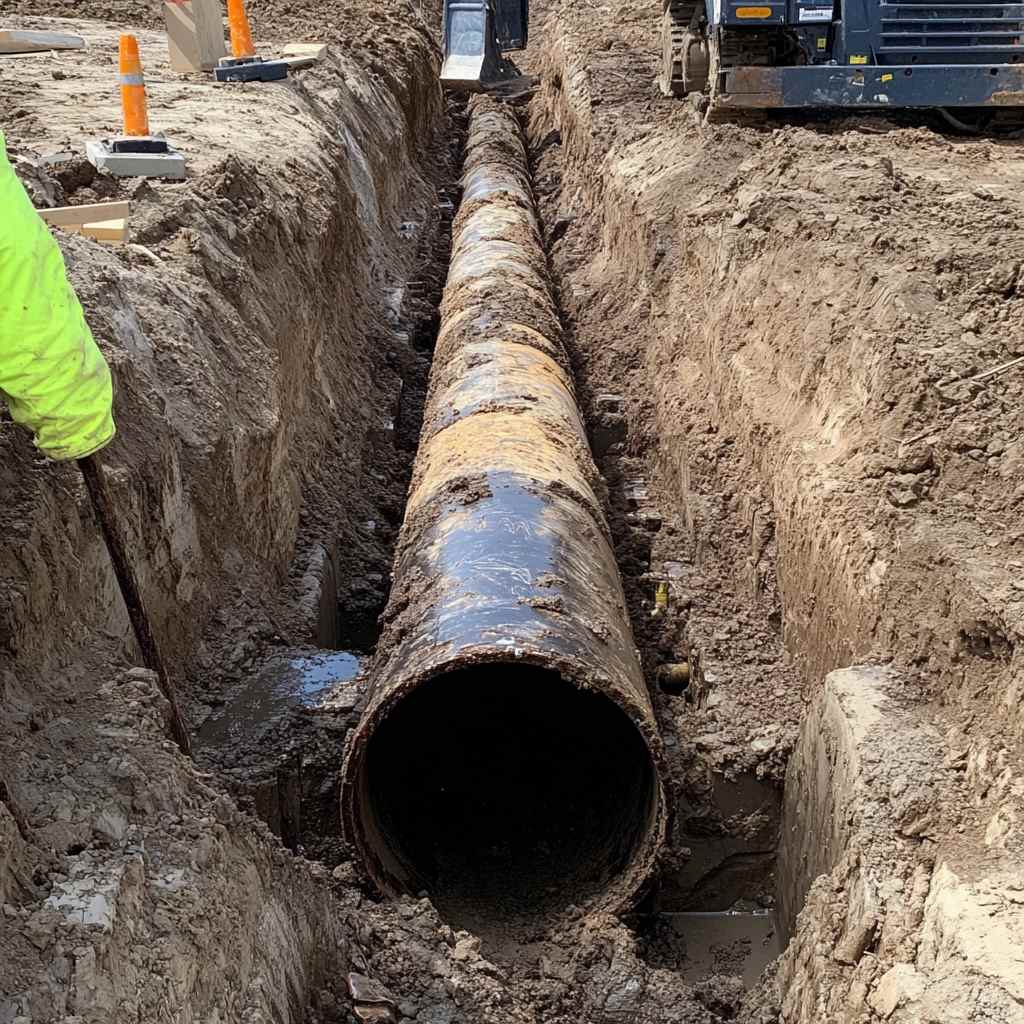
Check for anything that could interfere, like large rocks, fallen branches, or nearby fences. It’s also important to mark any underground utilities.
Gas lines, electrical wiring, and water mains need to be identified in advance. If you don’t know where they are, contact your local utility company before you break ground.
Next, take a close look at the tree stump. Different species have different root systems. An oak might have a deep taproot that requires more vertical digging, while a maple could have a wide-spreading root bed that takes more horizontal reach. Soil type matters too. Sandy soil is easier to remove. Clay or wet conditions might call for a slower, more careful approach.
When it comes to safety, don’t cut corners. A hard hat protects against falling debris, especially if you’re working near structures or overhead branches. Safety goggles are a must to guard against wood chips and dirt.
You’ll want gloves for grip and hand protection, steel-toed boots in case something drops, and a reflective vest if you’re near other workers or vehicles. If the machine runs loud (and most do) put on ear protection. Keep a first-aid kit close by and a fire extinguisher within reach, especially if you’re operating near dry brush or fuel sources.
Operating the Mini Excavator
Running a mini excavator for stump removal isn’t as complex as it might look, but a bit of preparation goes a long way. Before anything else, get familiar with the controls.
Adjust the seat until you’re comfortable reaching all levers and pedals, comfort reduces fatigue and gives you better control. Most excavators operate with dual joysticks: pushing one forward moves the boom out, while pulling it back brings it in.
Pedals often control the machine’s movement or blade swing, depending on the model. The goal is to feel how the machine responds before you begin any digging.
Once you’re comfortable, focus on technique. Start by digging around the base of the stump to expose the roots. Rather than trying to pry the whole thing up at once, concentrate on cutting the roots. That’s where resistance comes from. Use the bucket to work your way under the stump and apply upward pressure. If you’ve got a thumb attachment, it can give you a firmer grip when lifting or turning the stump.
Think of it less as pulling and more like loosening a tooth, work around it until it moves freely. It’s less about force and more about the right angles and leverage.
Good technique means less wear on your machine, fewer broken parts, and a smoother stump removal every time.
Stump Removal Process
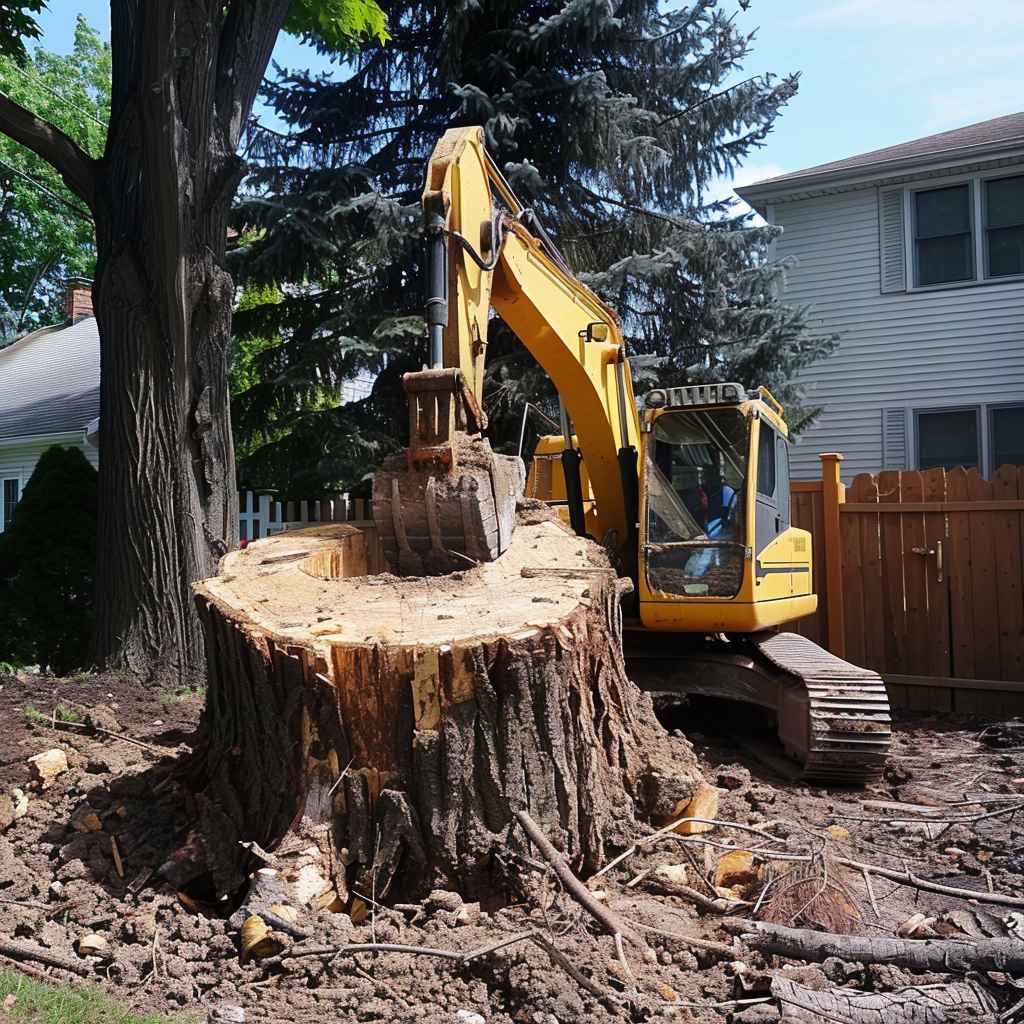
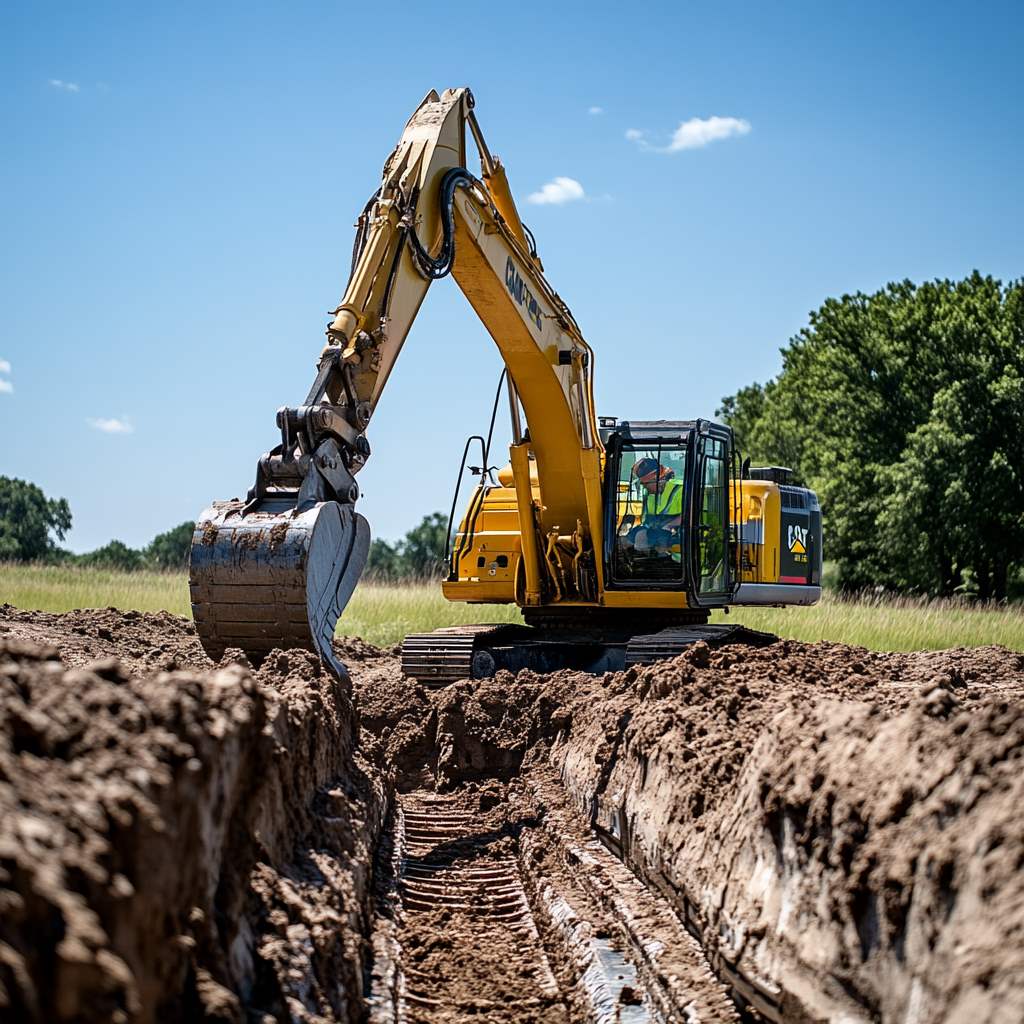
Stump removal is a sequence of three steps: digging, root cutting, and finally lifting the stump out. It starts with digging out the soil around the stump to reveal the roots.
You’ll want to create a trench about two to three feet deep around the stump to fully expose the root system. Aim for at least six inches of clearance between the stump and trench wall to give yourself room to work.
Dig carefully, especially if you’re near utilities. It’s worth rechecking for marked lines before going deep.
Once the roots are visible, begin separating them. The excavator bucket works well for smaller roots, but you may want to switch to a ripper or even a chainsaw for anything thicker than six inches. Start with the primary anchor roots. These are usually the toughest and hold the stump in place. Cut them cleanly to avoid unnecessary strain on the machine.
With the major roots detached, you’re ready for the final push. Use the excavator to get under the stump and apply slow, steady pressure upward. You may need to reposition the bucket a few times, depending on how the stump reacts. If it resists, go back and check for any remaining roots. Once it lifts free, shake off any remaining soil using the bucket and get it ready for hauling.
Post-Removal Procedures
After the stump is out, you’re left with a hole that needs proper backfilling. Start by clearing out leftover wood pieces. Then, fill the area with a mix of soil and compost, this helps restore the soil’s structure and gives you a good base for future planting. Spread the soil evenly with a rake and press it down to eliminate air pockets. You can do this by hand or with a roller. Expect a little settling over time, and plan to top it off if it dips.
Water the filled space to help the soil settle and reduce dust. If you’re restoring the area visually, now’s the time to throw down grass seed or plant cover.
For stump disposal, break the main stump into manageable chunks. You can chip them for mulch or haul them to a local yard waste facility.
If you’re using the chips, they work well around flower beds and trees to retain moisture. Just avoid diseased wood, those pieces should be properly disposed of according to local guidelines to prevent spreading issues to healthy trees.
Maintenance of Mini Excavator
Once the job’s done, don’t forget about your equipment. A clean machine is easier to inspect and lasts longer. Wash off any mud and grime, especially on the tracks and hydraulic parts. The bucket and thumb should be cleared of buildup, and check the air filters too, dust from stump work tends to clog them up quickly.
Lubricate moving parts to prevent rust and make sure everything’s moving freely. Take a few minutes to check for wear or visible damage. Dents, cracks, or loose connections should be addressed before the next use.
Keep up with routine maintenance like oil changes, checking hydraulic fluid, and tightening any loose bolts. Battery connections and track tension also need regular attention. Staying on top of these small details keeps your mini excavator in working condition for the next round of digging.
Frequently Asked Questions
What is the most efficient technique for stump removal with a mini excavator?
The most efficient technique involves first exposing the roots by digging around the stump. Then, use the excavator bucket to cut the roots.
You might need a saw for thicker roots. Once the roots are cut, gently nudge the stump with the bucket until it comes loose.
Can a mini excavator be used effectively to clear multiple tree stumps?
Yes, a mini excavator can clear multiple stumps efficiently.
It’s beneficial due to its maneuverability and ability to handle small to medium-sized stumps.
Plan your work by assessing each stump’s size and position, creating a systematic approach to remove them one by one.
What are the advantages of using a mini excavator over a stump grinder for stump removal?
A mini excavator is versatile and can handle different tasks like digging trenches or landscaping, unlike a stump grinder with a single purpose.
Also, a mini excavator can deal with larger stumps and root systems more effectively than a stump grinder.
What are the essential attachments for a mini excavator to remove tree stumps?
Key attachments include a standard digging bucket for exposing and cutting roots, and a thumb attachment to help grip and lift the stump.
A hydraulic breaker or a ripper might be necessary for larger or tougher stumps to break up the root system.
How do I determine the appropriate size of a mini excavator for stump removal?
The size of the mini excavator should match the size of the stumps you need to remove.
A 3 to 4-ton excavator may be sufficient for small to medium stumps.
Larger stumps or more extensive root systems require a larger excavator to provide enough power and stability.