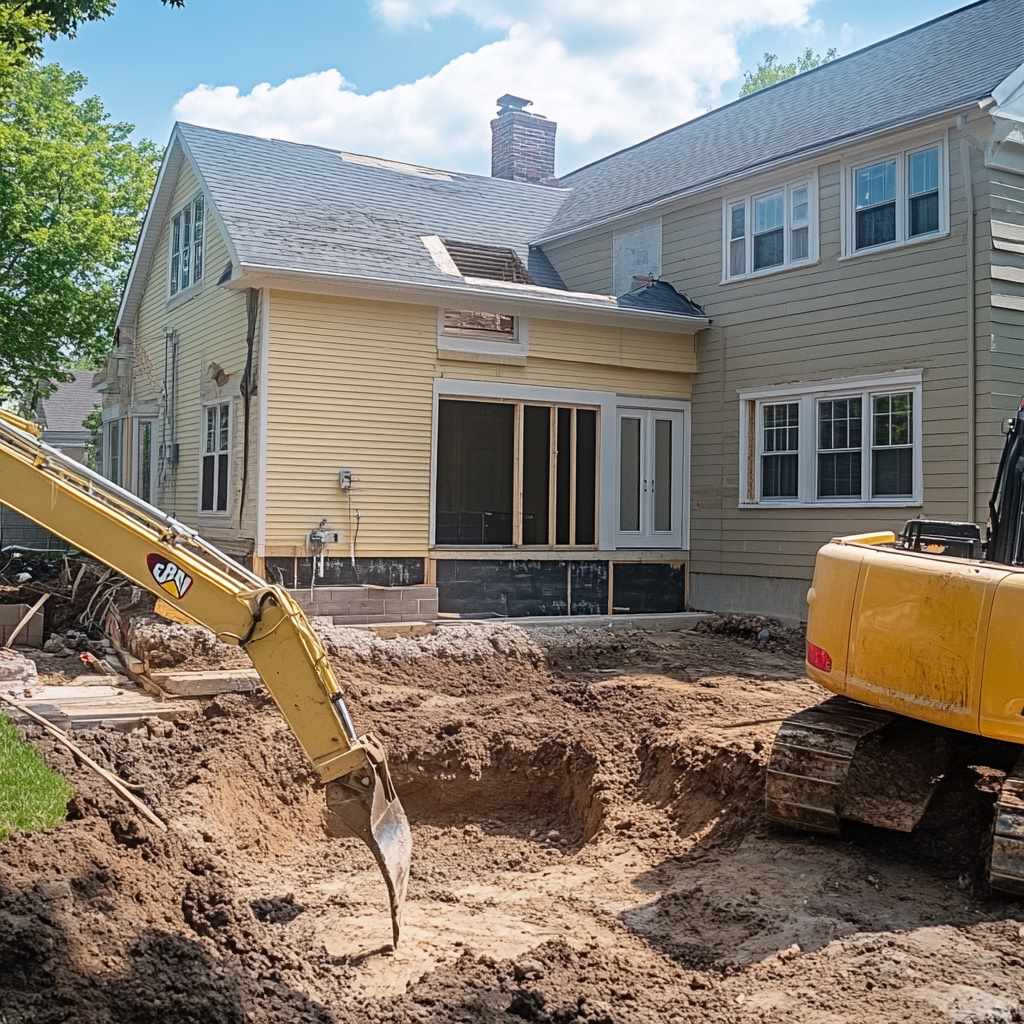
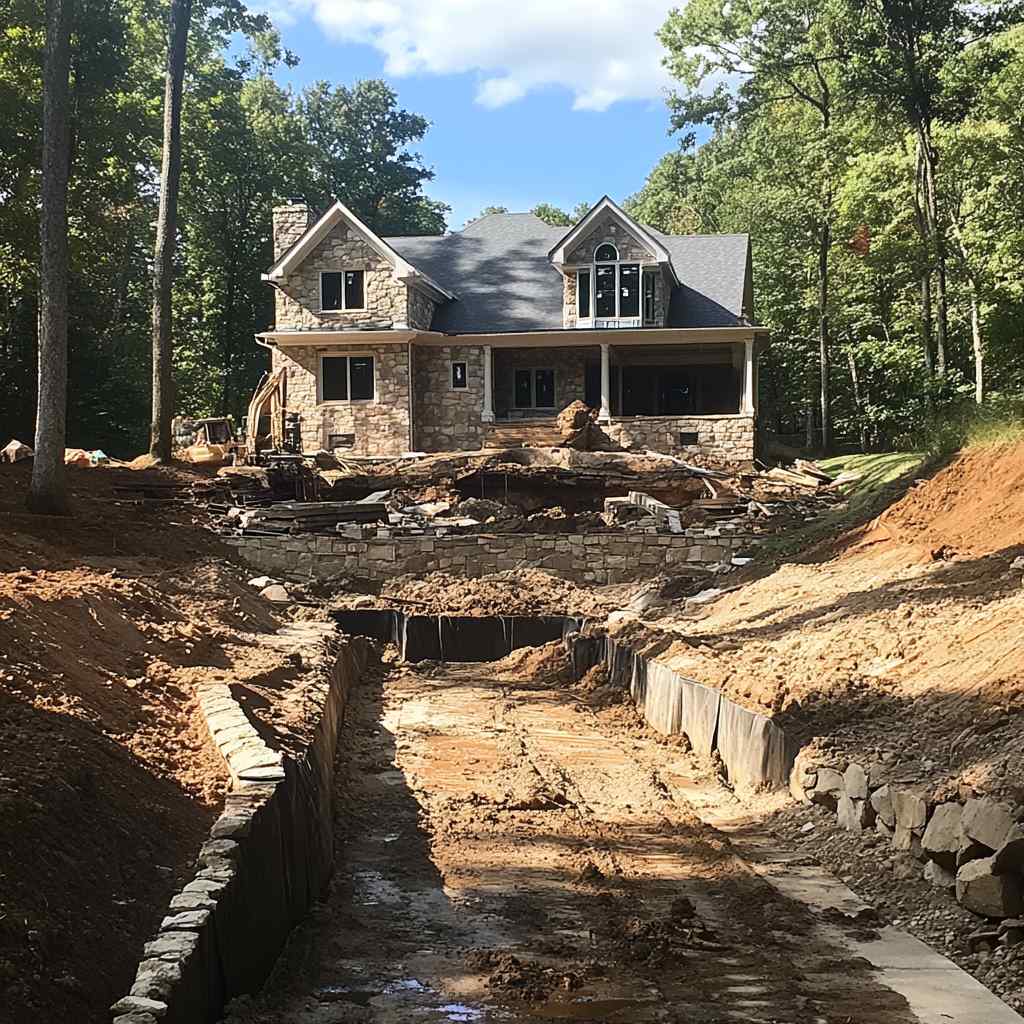
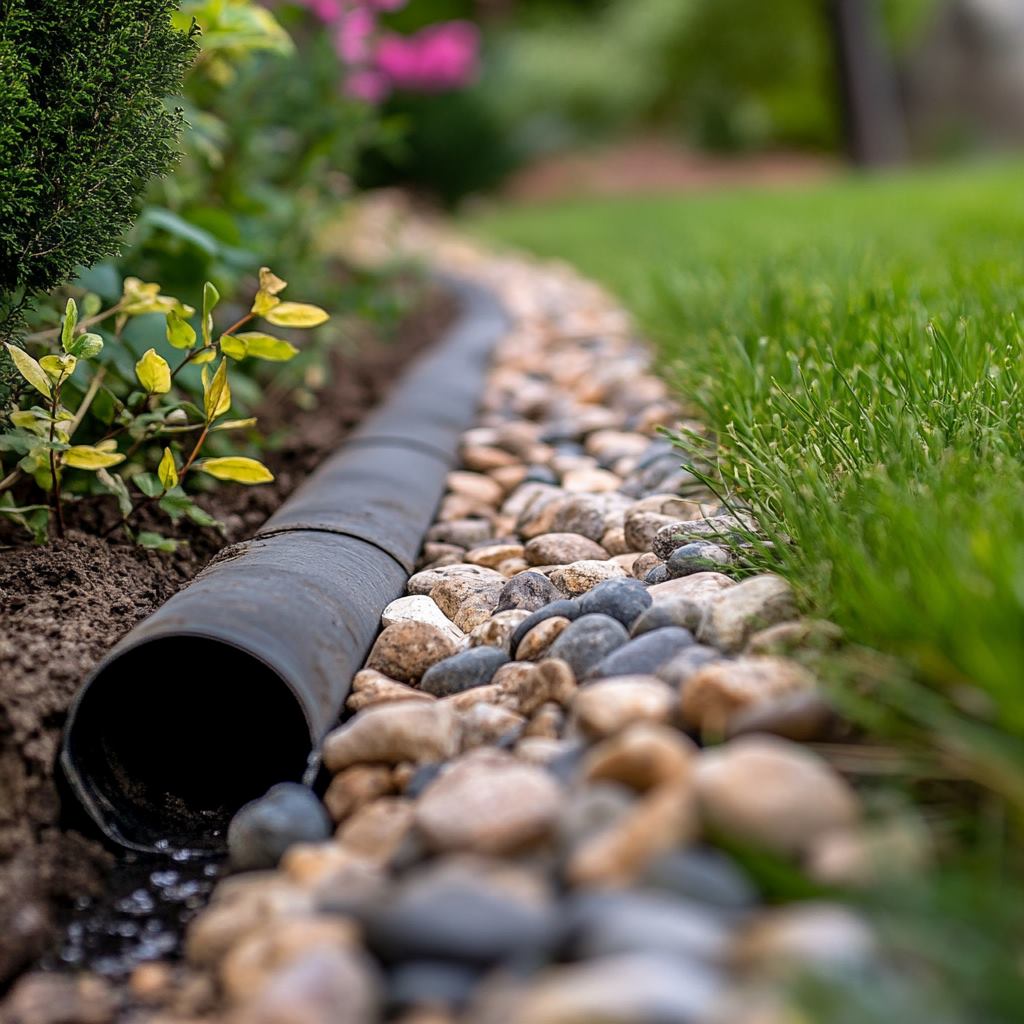
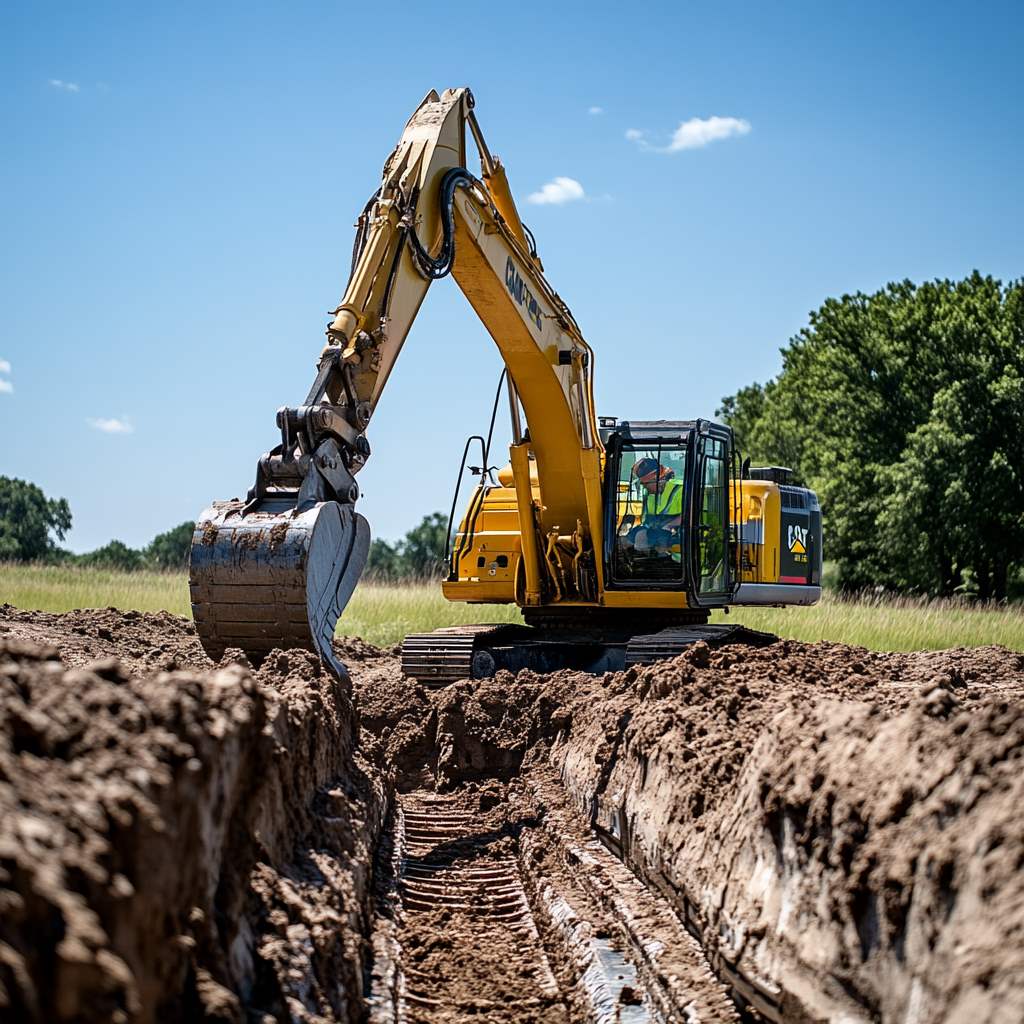
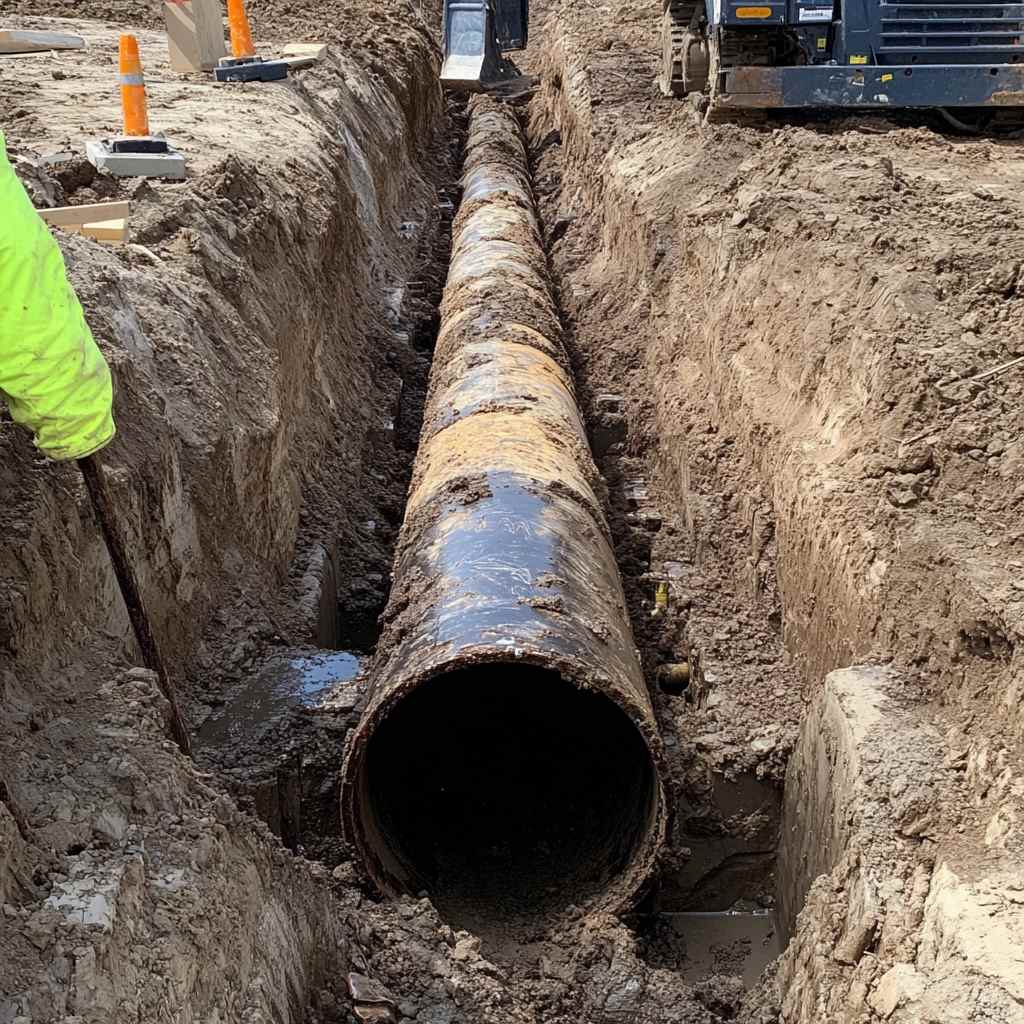
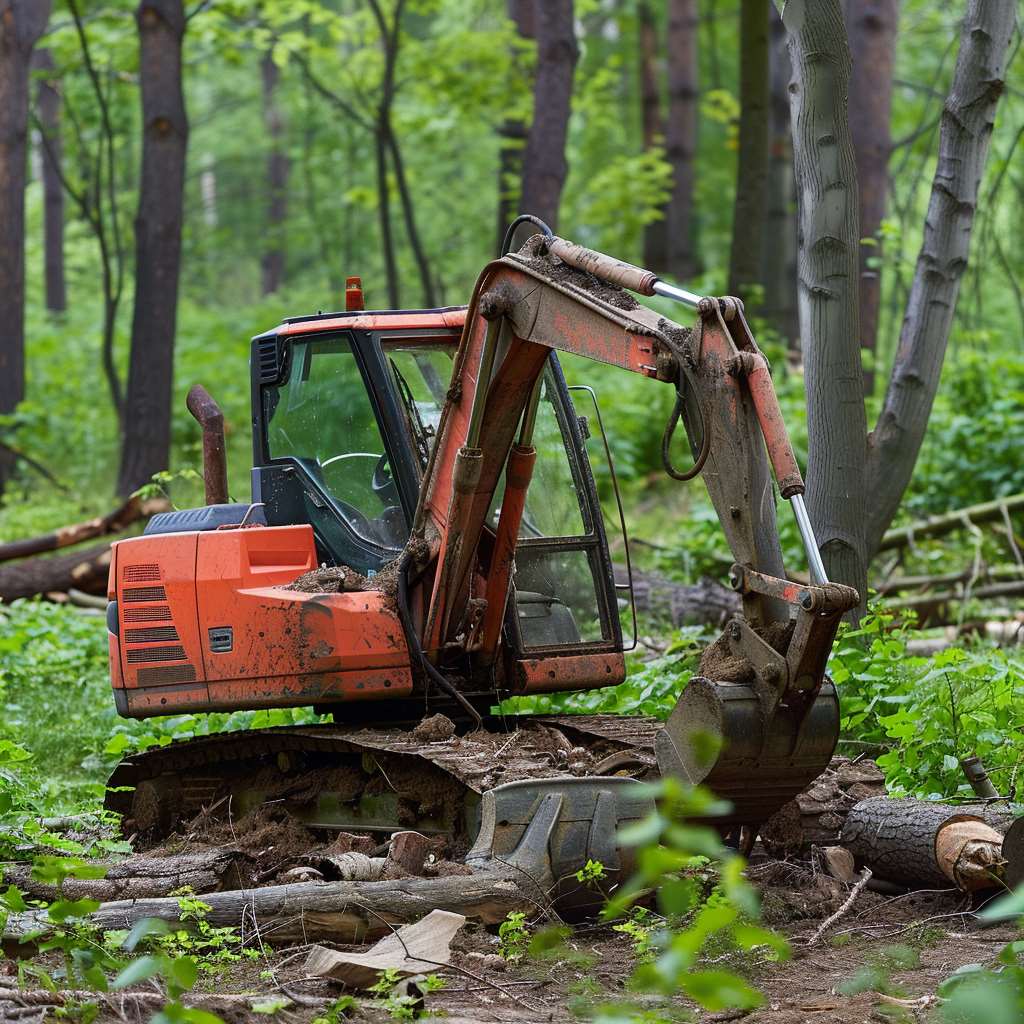
Excavating a hill for retaining walls requires skill and planning to ensure a solid and long-lasting structure. It is important to start with a wide, deep, and level trench that can accommodate the blocks and provide enough space for proper drainage. The trench should be compacted to prevent settling and the base should be made of crushed stone for better drainage. Getting the first course right is crucial, as it sets the foundation for the rest of the wall. Sweep before stacking to avoid misalignment and maintain a level height. If the wall runs up a hill, continue the base course into the hill and save money by using cheaper blocks for the bottom course. Proper drainage is essential for retaining walls, and a drain tile should be installed on top of the backfilled wall and connected to a drain grate. It is important to use the right type of retaining wall blocks, such as Versa-Lok, and to consider splitting blocks for a rough finish or using a saw for smooth cuts. Staggering joints and keeping them tight is necessary to prevent water and sediment from seeping through gaps. Backfilling with stone and properly aligning the capstones completes the construction process. For taller walls, engineering may be required, and it is important to consult with professionals when necessary.
Key Takeaways:
- Excavate a wide, deep, and level trench for proper drainage.
- Ensure the first course is well-aligned and leveled to set a solid foundation.
- Consider continuing the base course into the hill to save costs.
- Install a drain tile and connect it to a drain grate for proper drainage.
- Choose the right type of retaining wall blocks and stagger joints to prevent seepage.
Understanding the Importance of Retaining Walls
Retaining walls are more than just simple stacked stone or block structures. They are carefully engineered systems that play a crucial role in preventing soil erosion, managing water runoff, and creating usable yard space. Retaining walls are commonly used in both commercial and home landscaping projects to control sloping lots and make them more functional. They are particularly important in areas with hilly terrain, soil fault lines, or properties with soil erosion issues. When constructing a retaining wall, it is important to consider factors such as drainage and the weight of the soil it will be holding back. Poor drainage and inadequate design are common causes of retaining wall failure. It is recommended to limit the height of retaining walls to 4 feet (3 feet for mortarless stone) to ensure stability. For taller walls, step-terracing or professional design and installation may be required. Retaining walls can be constructed using various materials such as concrete, timber, interlocking blocks, stacked stone, brick, or cinder block. Each material has its own advantages and considerations, and it is important to choose the right material for the specific project.
“Retaining walls are carefully engineered systems that play a crucial role in preventing soil erosion, managing water runoff, and creating usable yard space.”
- Retaining walls are essential for controlling sloping lots and managing soil erosion in hilly terrains.
- Proper design, drainage, and material selection are crucial for the stability and functionality of retaining walls.
- Taller retaining walls require professional design and installation, and may involve step-terracing techniques.
- Materials such as concrete, timber, interlocking blocks, stacked stone, brick, or cinder block can be used for retaining wall construction.
Retaining walls are not just structural elements; they can also enhance the aesthetic appeal of your landscape. By understanding the importance of retaining walls and considering the specific needs of your project, you can create a beautiful and functional outdoor space that withstands the test of time.
Selecting the Right Material for Your Retaining Wall
When it comes to choosing the material for your retaining wall, there are several options to consider. Each material has its own advantages and considerations, so it’s important to make an informed decision based on your specific project requirements. Some popular choices for retaining wall materials include block systems, concrete, timber, brick, and cinder block.
Block Systems
Block systems made of cement and lightweight aggregate materials are a popular choice for retaining walls. These systems offer easy installation features, as they come in various designs and can be easily assembled. Block systems, such as the Keystone, Risi, Rockwood, Tensar, and Versa-Lok, provide versatility and strength while allowing for creative design options.
Concrete Retaining Walls
Concrete retaining walls are known for their strength and durability when properly designed and installed. They offer a range of design options and can be veneered with masonry for a more attractive appearance. Concrete walls are a great choice for larger retaining wall projects and can withstand heavy loads.
Timber Walls
Timber walls are a moderately challenging option to build, but they can be cost-effective for walls up to 4 feet high. They provide a natural aesthetic and are often used in more rustic or organic landscape designs. Timber walls require proper treatment to resist decay and ensure longevity.
Brick and Cinder Block
For a more traditional or formal look, stacked stone, brick, and cinder block retaining walls can be a great choice. These materials offer a range of design options and can create a visually appealing structure. It’s important to consider the weight and stability of these materials when building taller walls.
When selecting the material for your retaining wall, consider factors such as cost, installation requirements, and design compatibility. Consulting with professionals and considering the specific needs of your project will help ensure that you choose the right material for a successful and long-lasting retaining wall.
Step-by-Step Guide to Excavating a Hill for Retaining Walls
To successfully excavate a hill for retaining walls, it is essential to follow a systematic approach. Here is a step-by-step guide to help you navigate the hill excavation process:
- Assess the site: Before you begin excavation, carefully evaluate the hillside to determine its composition, stability, and any potential obstacles or hazards.
- Mark out the trench: Use stakes and string to mark the outline of the trench where the retaining wall will be built. Ensure the trench is wide and deep enough to accommodate the wall blocks and provide proper drainage.
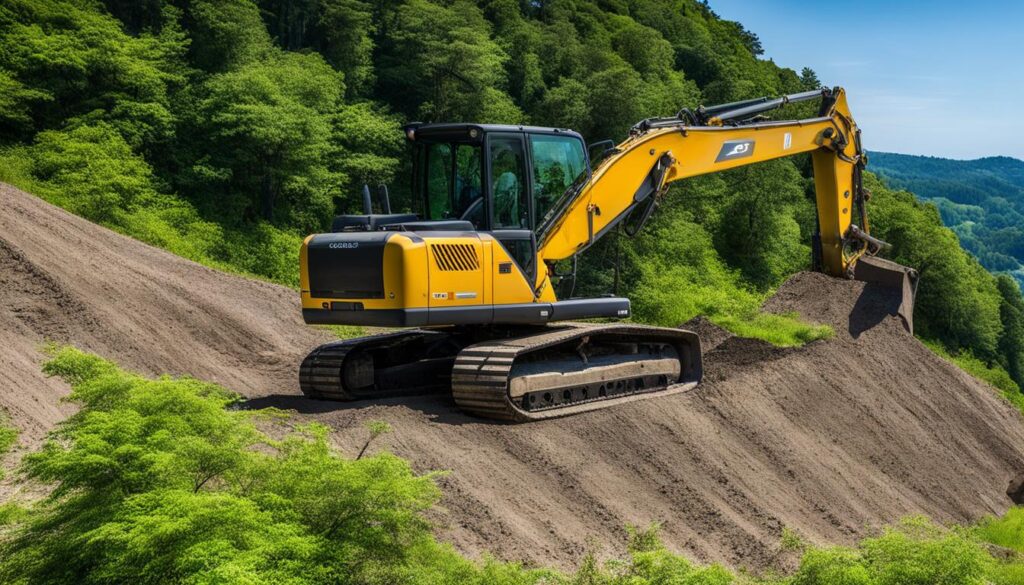
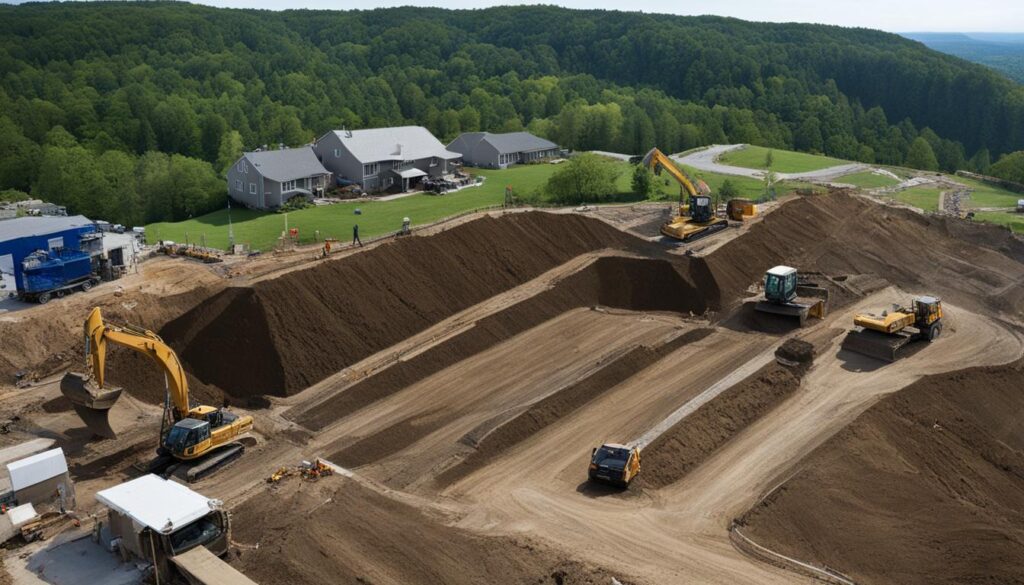
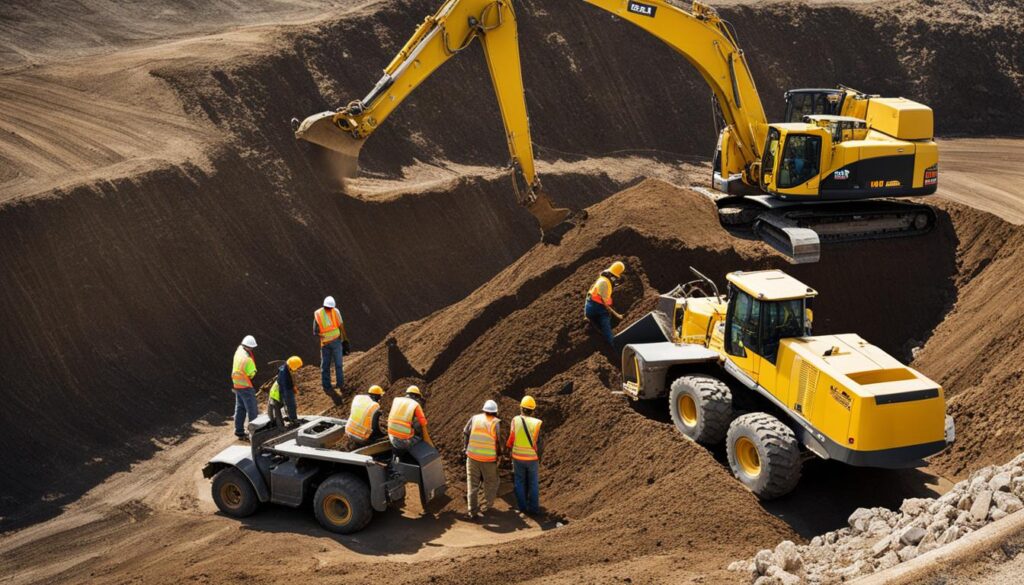
- Excavate the hill: Use appropriate excavation equipment, such as an excavator or mini backhoe, to remove the soil and create the trench. Be mindful of safety precautions and consider hiring a professional operator if needed.
- Level the trench: Use a level and compacting equipment to ensure the trench is level and stable. This is crucial for the proper installation and performance of the retaining wall.
- Secure the base: Lay a solid base layer of crushed stone or gravel in the trench to enhance drainage and stability. Compact the base layer to prevent settling.
- Continue with wall construction: Now that the hill has been excavated and the trench prepared, you can proceed with building the retaining wall according to the specific design and material instructions.
Remember, safety should be a priority during the excavation process. If you are inexperienced or dealing with complex terrain, it is advisable to seek professional assistance. By following these steps, you can ensure a successful excavation and create a sturdy retaining wall that effectively retains the hillside.
Maintaining Stability during Excavation
During the excavation process, it is crucial to maintain stability to prevent accidents and ensure the wall’s longevity. If the hillside soil is loose or unstable, consider using retaining wall reinforcement techniques, such as geogrids or soil nails, to provide additional support and prevent soil erosion. Consulting with an engineer or retaining wall specialist can help you determine the appropriate reinforcement methods for your specific project.
Tips for Successful Retaining Wall Installation
Installing a retaining wall requires careful planning and attention to detail. Here are some essential tips to ensure a successful installation:
- Select the right materials: Choose a material that suits your specific project requirements and design preferences. Consider factors such as durability, cost, and aesthetics.
- Prepare the site: Clear the area of any vegetation or debris. Ensure the base is level and free from any obstructions that may hinder the installation process.
- Proper drainage: Adequate drainage is crucial for the longevity of your retaining wall. Incorporate drainage pipes or weep holes to prevent water buildup behind the wall.
- Use proper backfill: Fill the space behind the wall with granular material for optimal drainage. Compact the backfill to prevent settling and ensure stability.
- Pay attention to alignment: Accurate alignment is essential for a visually pleasing and structurally sound retaining wall. Use a string line or level to maintain a straight and level wall.
- Secure the capstones: The capstones are the finishing touch to your retaining wall. Apply a suitable adhesive to secure them in place and prevent shifting or instability.
Following these tips will help you achieve a successful retaining wall installation. However, it is important to consult with professionals or experienced installers for complex projects or taller walls that require engineering consideration.
“Proper installation techniques and attention to detail are vital for the success of any retaining wall project.” – Retaining Wall Expert
Remember, a well-constructed and properly installed retaining wall not only serves its functional purpose but also adds beauty and value to your outdoor space.
| Tips for Successful Retaining Wall Installation |
|---|
| Select the right materials |
| Prepare the site |
| Proper drainage |
| Use proper backfill |
| Pay attention to alignment |
| Secure the capstones |
Importance of Professional Engineering for Taller Walls
When it comes to constructing taller retaining walls, professional engineering is of utmost importance to ensure safety and stability. Taller walls require additional structural support and design considerations that go beyond what is necessary for shorter walls. Professional engineers have the expertise and knowledge to assess factors such as the width and depth of the base, the burying depth of the base course, and the need for soil reinforcement systems. By consulting with a licensed engineer, you can ensure that your retaining wall meets all safety and building code requirements.
Engineering for tall walls involves careful planning and analysis. Engineers will determine the appropriate dimensions and materials to use for the wall based on factors such as soil conditions, hydrostatic pressure, and surrounding structures. They will also assess the need for additional reinforcements, such as geogrids or tiebacks, to increase the wall’s stability and resistance to lateral forces. Professional engineers have the knowledge and tools to accurately calculate the required strength and stability of the retaining wall, preventing potential failures and costly repairs in the future.
Additionally, engineering requirements for retaining walls may vary based on local regulations and building codes. Some jurisdictions have specific guidelines for the construction of tall retaining walls and may require a building permit for such projects. By working with a professional engineer, you can ensure compliance with these regulations and avoid potential legal issues down the line. Their expertise will help you navigate through the process, ensuring that your retaining wall is not only safe and functional but also meets all necessary legal requirements.
In conclusion, professional engineering is crucial for constructing taller retaining walls. By consulting with a licensed engineer, you can benefit from their knowledge and expertise in assessing the structural requirements, addressing potential challenges, and ensuring compliance with local regulations. Investing in professional engineering will give you peace of mind knowing that your retaining wall is built to withstand the test of time.
Conclusion
Excavating a hill for retaining walls is a challenging task that requires careful planning and execution. By following the step-by-step guide provided in this article and considering the tips and recommendations, you can successfully construct a strong and durable retaining wall.
Whether you choose a concrete, timber, or interlocking block system, it is important to prioritize proper drainage, alignment, and backfilling to ensure the stability and longevity of your retaining wall. Additionally, consulting with professionals, such as engineers or experienced installers, is highly recommended, especially for taller walls and complex projects.
With the right techniques, materials, and expertise, you can transform a hilly landscape into a functional and aesthetically pleasing outdoor space. So, start planning your retaining wall construction today and enjoy the benefits of a well-built and beautiful addition to your property.
FAQ
Can I excavate a hill for a retaining wall on my own?
Excavating a hill for a retaining wall requires skill and planning. It is recommended to consult with professionals, such as engineers or experienced installers, to ensure proper excavation techniques and adherence to engineering guidelines.
What is the importance of proper drainage in retaining walls?
Proper drainage is essential for retaining walls to prevent water buildup and potential damage. A drain tile should be installed on top of the backfilled wall and connected to a drain grate to ensure adequate drainage.
Can I use any type of retaining wall blocks?
It is important to use the right type of retaining wall blocks, such as Versa-Lok, that are specifically designed for retaining wall construction. It is also recommended to consider splitting blocks for a rough finish or using a saw for smooth cuts.
How tall can a retaining wall be without professional engineering?
Retaining walls that are over 4 feet tall (or 3 feet for mortarless stone) should be designed and assessed by a professional engineer to ensure proper structural support and stability.
What are the advantages of using a block system for a retaining wall?
Block systems made of cement and lightweight aggregate materials offer easy installation, versatility, and strength. They are available in various designs and can be easily assembled, making them a popular choice for retaining wall construction.
What materials can be used for retaining walls?
Retaining walls can be constructed using materials such as concrete, timber, interlocking blocks, stacked stone, brick, or cinder block. Each material has its own advantages and considerations, and it is important to choose the right material for the specific project.
What steps are involved in excavating a hill for a retaining wall?
The steps involved in excavating a hill for a retaining wall include planning, starting with a wide and level trench, compacting the trench, using crushed stone for proper drainage, ensuring proper alignment and height, and completing the construction process with backfilling and aligning the capstones.
What are some tips for successful retaining wall installation?
Some tips for successful retaining wall installation include ensuring proper drainage, using the right materials, maintaining tight and staggered joints, properly aligning capstones, and consulting with professionals for taller walls or complex projects.
Are building permits required for retaining walls?
Building permits may be required for retaining walls, especially for taller walls that require professional engineering. It is important to consult with local authorities and professionals to determine the specific requirements for your project.
How can professional engineering help with taller retaining walls?
Professional engineering is important for taller retaining walls as it ensures proper structural support, stability, and adherence to building code requirements. Engineering considerations include the width and depth of the base, burying depth of the base course, and the need for soil reinforcement systems.
Can I transform a hilly landscape into a functional outdoor space with retaining walls?
Yes, retaining walls are commonly used to transform hilly landscapes into functional outdoor spaces. They help control sloping lots, prevent soil erosion, and create usable yard space. Proper excavation and construction techniques, as well as the right material selection, can help achieve beautiful and functional results.
